
Growing a tiny human is a BIG deal, and if you’re anything like me, you’ll want to document every little change along the way! Whether you’re snapping weekly bump pics or just want a few fun DIY maternity photos before booking a professional session, I’ve got some easy tips to help you take gorgeous maternity photos with just your phone.
(And don’t worry—when you’re ready for EPIC maternity photos, I’ll be here to capture them for you!)
1. Find the Best Light
Good lighting is EVERYTHING when it comes to photography! Natural light is your best friend, so look for a window with soft, even lighting or step outside during golden hour (the hour after sunrise or before sunset).
- Avoid overhead lights—they cast weird shadows. Turn them off!
- Stand facing the light or position it to the side for a soft, flattering glow.
- If outside, find open shade (like under a tree or next to a building) for even lighting without harsh shadows.
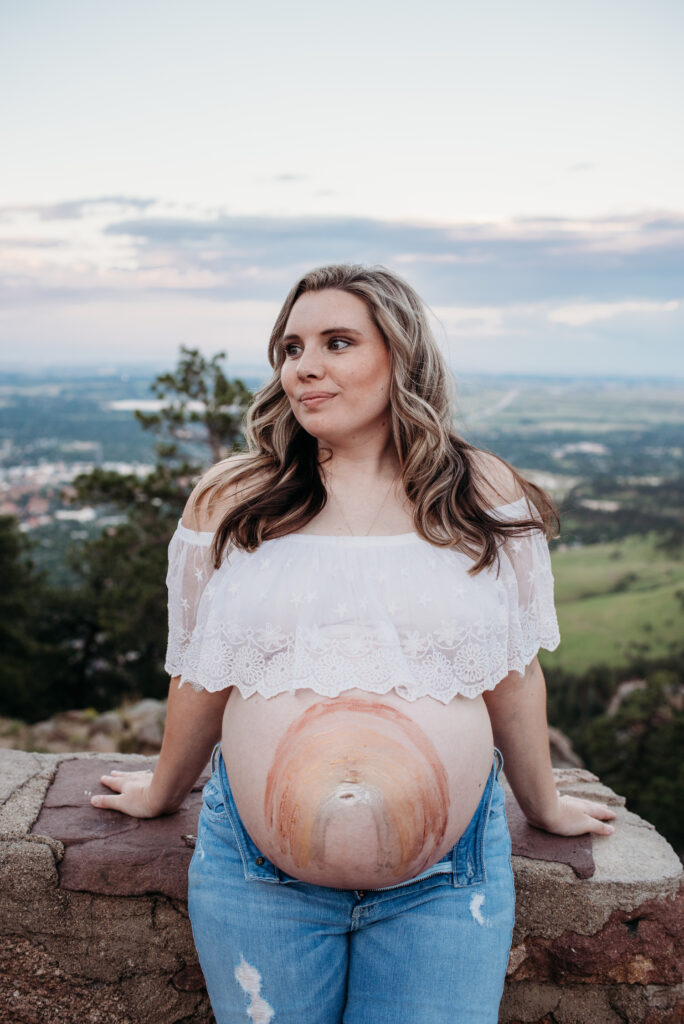
2. Choose a Simple Background
You don’t need a fancy backdrop! A clean, neutral wall, a cozy spot in your home, or a scenic outdoor setting works perfectly.
- Declutter the background so the focus stays on you and your bump.
- If outside, use nature! A field, a pretty doorway, or a quiet trail can make a great setting.

3. Use a Tripod or Prop Up Your Phone
Want to be hands-free for your maternity pics? A simple phone tripod (or even propping your phone against a stack of books) can make a HUGE difference.
- Use the self-timer or voice command so you have time to get into position.
- If you have a smart watch, even better! You can trigger the camera without running back and forth.
4. Try These Easy Poses
Now for the fun part—posing! The goal is to highlight that beautiful bump while keeping things natural and flattering.
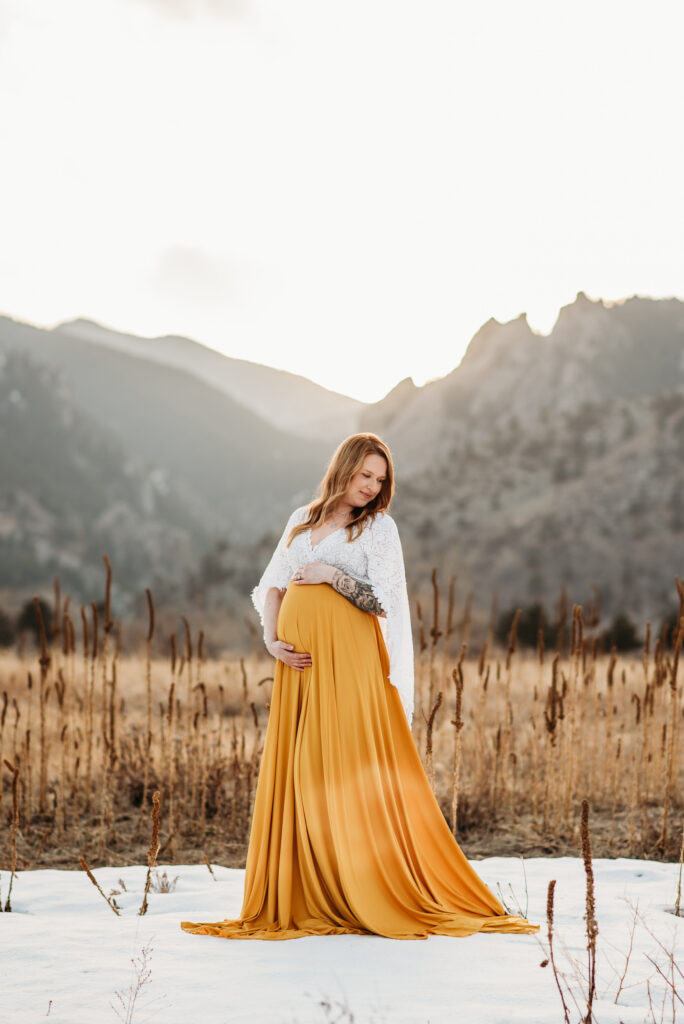
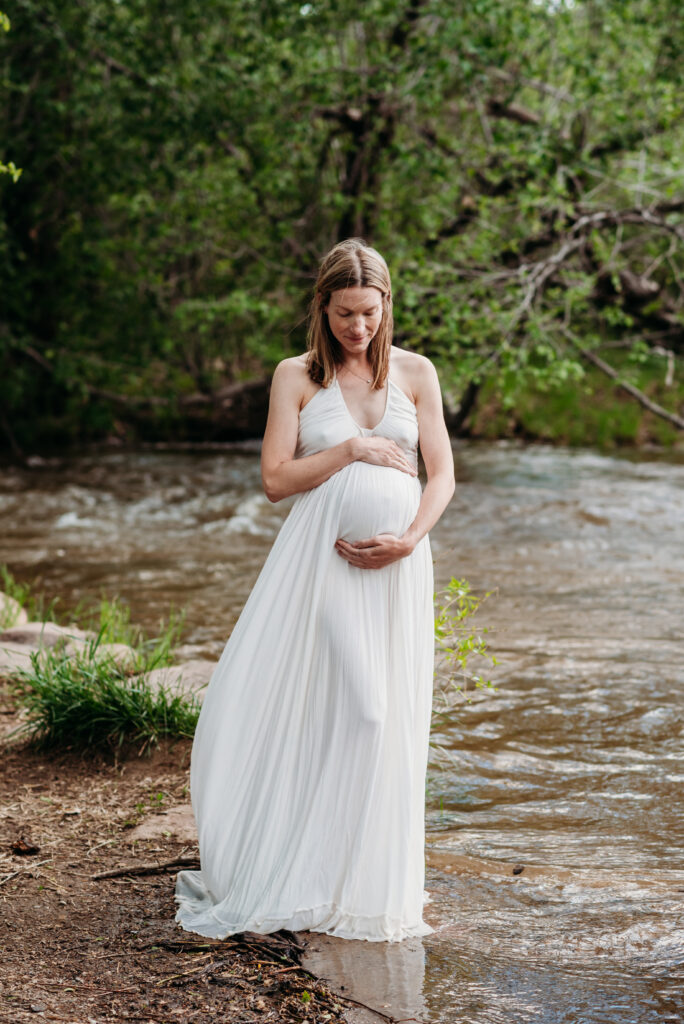
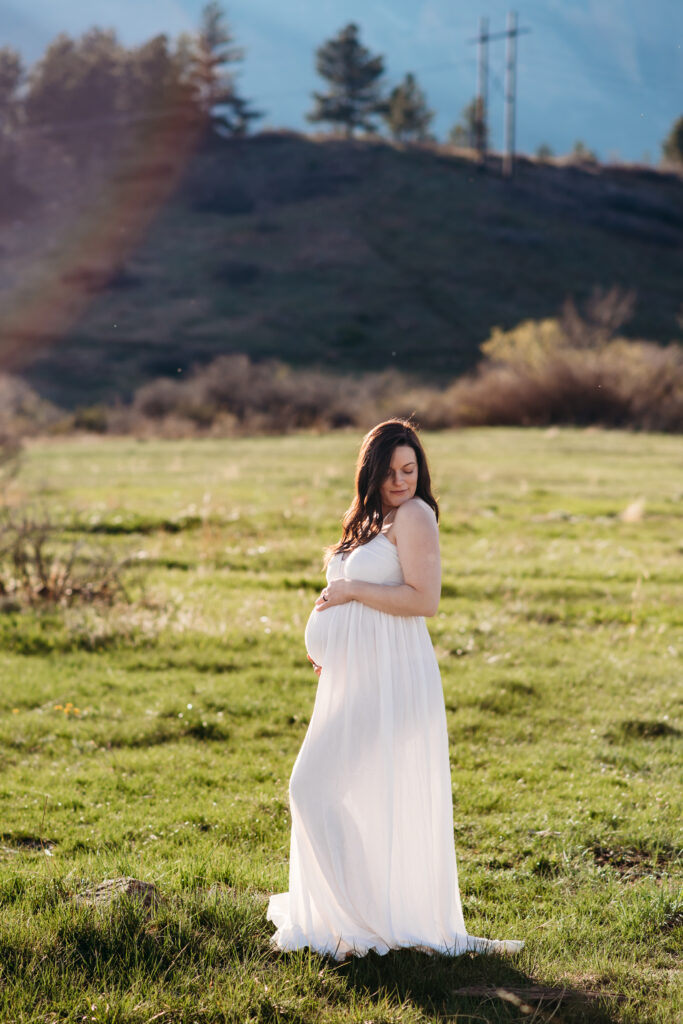
- The Classic Side Profile: Turn slightly to the side with one hand on top of your belly and one below.
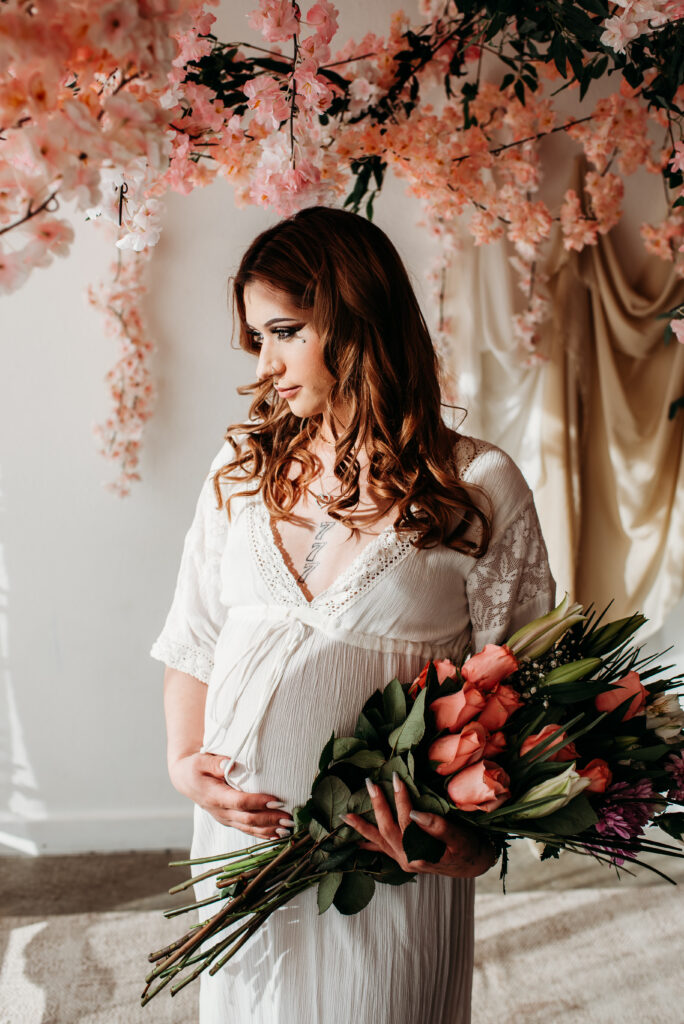
- The Bump Hug: Cradle your belly with both hands and look down at it. Instant sweetness!
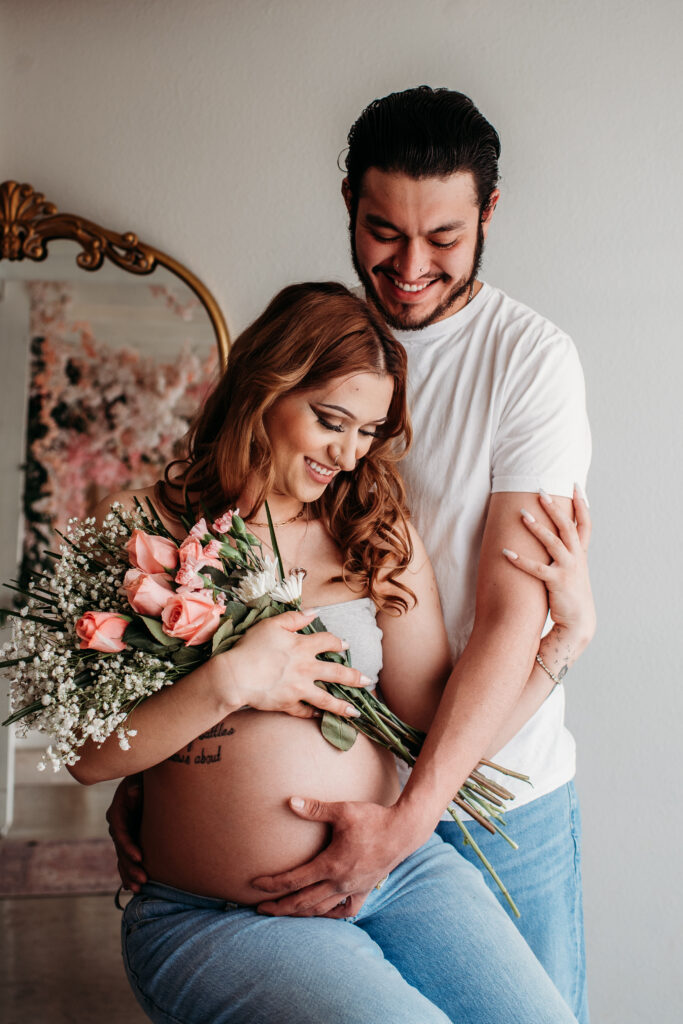
- With a Partner or Sibling: Get them involved! Have your partner hug your belly or let an older sibling kiss the bump.

5. Keep It Consistent (for Weekly Bump Pics)
If you’re taking weekly belly photos, keep the setup consistent so you can really see your progress over time!
- Same spot, same lighting, same outfit style (like a fitted tank and leggings).
- Try a fun sign or app to mark how many weeks along you are!
6. Edit Like a Pro (With Just Your Phone!)
A little editing can take your DIY maternity photos up a notch!
- Brighten the image if it looks too dark.
- Boost the contrast slightly to make details pop.
- Use a preset/filter that keeps colors natural (VSCO, Lightroom Mobile, or even Instagram have great options).
7. When to Book a Professional Maternity Session
While DIY bump pics are a great way to document your pregnancy, there’s something magical about having a professional maternity session.
The best time to book a maternity session is between 28-34 weeks. You’ll have a beautiful, round bump but still feel comfortable moving around for photos!
I hope these tips help you capture your growing bump in a way you’ll love looking back on! If you try them out, tag me in your photos—I’d love to see them! @kyliebreephoto

leave a comment